How do I Care for a Bromeliad Indoors?
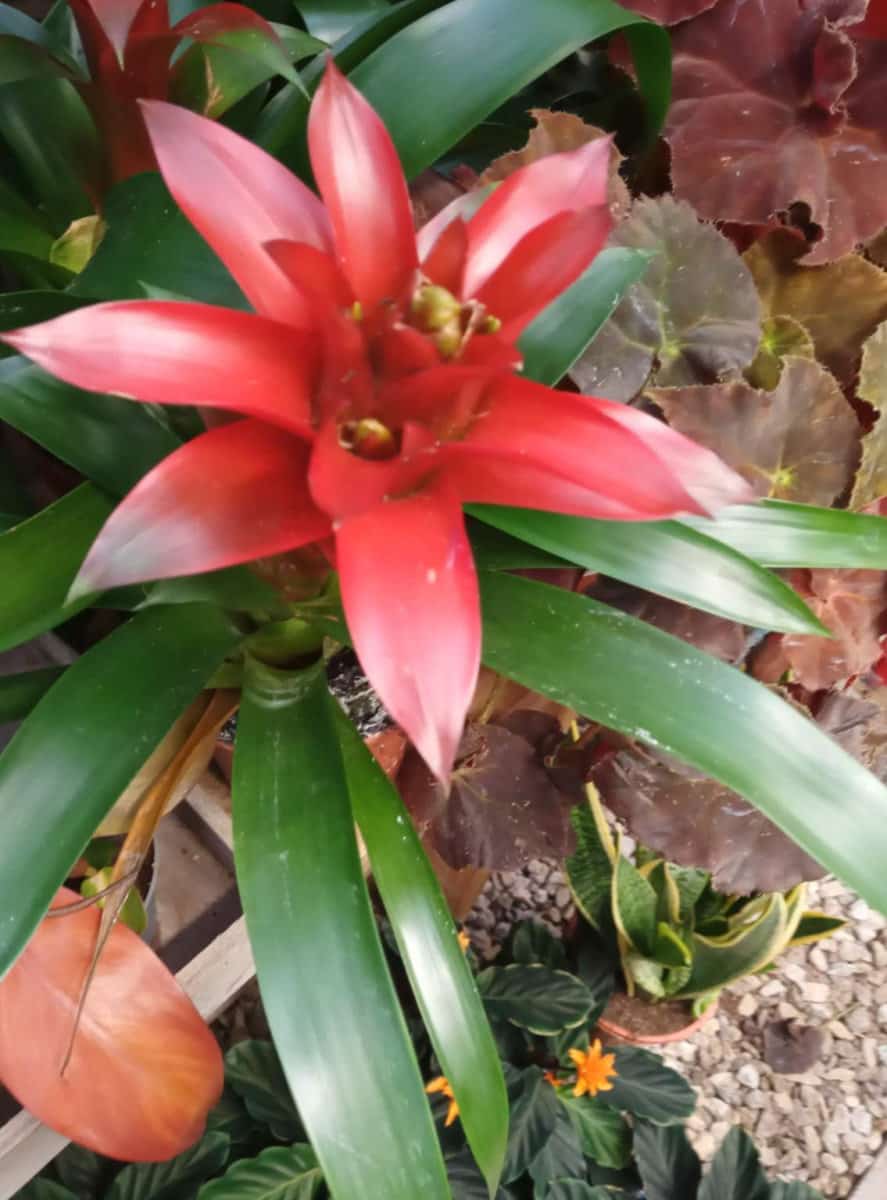
Bromeliads are one of the most popular house plants to grow due to their ability to flower for months indoors.
However the most common bromeliads grown as houseplants are native to tropical South America where they use their roots to anchor onto trees branches rather then growing in the ground, therefore there are a few considerations for growing bromeliads successfully.
To care for bromeliads mimic some of the conditions of their native environment by placing them in bright, indirect light, preferably in a humid room, maintain a temperature range of 70ºF to 90ºF (21ºC to 32º) during the day and water their central ‘vase’ as well as the potting soil…
Summary of bromeliad care requirments…
| Growing Requirements: | How to Care for Bromeliads: |
| Watering: | Water with rainwater into the central ‘tank’ or ‘vase’ of the bromeliad. Water the soil when the top inch starts to dry. |
| Humidity: | Keep plants in a humid room and mist regularly. |
| Light: | Bright, indirect is best. too much sun scorches the leaves brown. |
| Temperature: | 70ºF to 90ºF (21ºC to 32º) during the day and between of 50ºF to 65ºF (10ºC to 18ºC) during the night. |
| Flowering: | Bromeliads only flower once, although the flower can last for months or even a year. |
| Repotting: | Do not repot when in flower. Only repot to a pot 2 inches larger in diameter then the previous pot. |
| Potting Soil: | 50% potting soil to 50% pine bark based potting mix creates the optimal soil structure. |
| Pots: | Terracotta and clay pots are best as they are porous, allowing the potting soil to dry out more evenly. |
| Propagation: | Bromeliads produce off-setts regularly that can be seperated from the parent plant and propagated. |
| Fertilizer: | Apply an orchid mist spray fertilizer every month during Spring and Summer. Do not fertilize in Fall and Winter. |
How to Water Bromeliads
As Bromeliads are epiphytes, their roots are primarily used to anchor themselves on a tree branch in an area of bright light rather then then draw up water and nutrients.
They meet all their watering requirements from humid air and by catching rainfall and channeling it with the shape of their leaves, into their central tank.
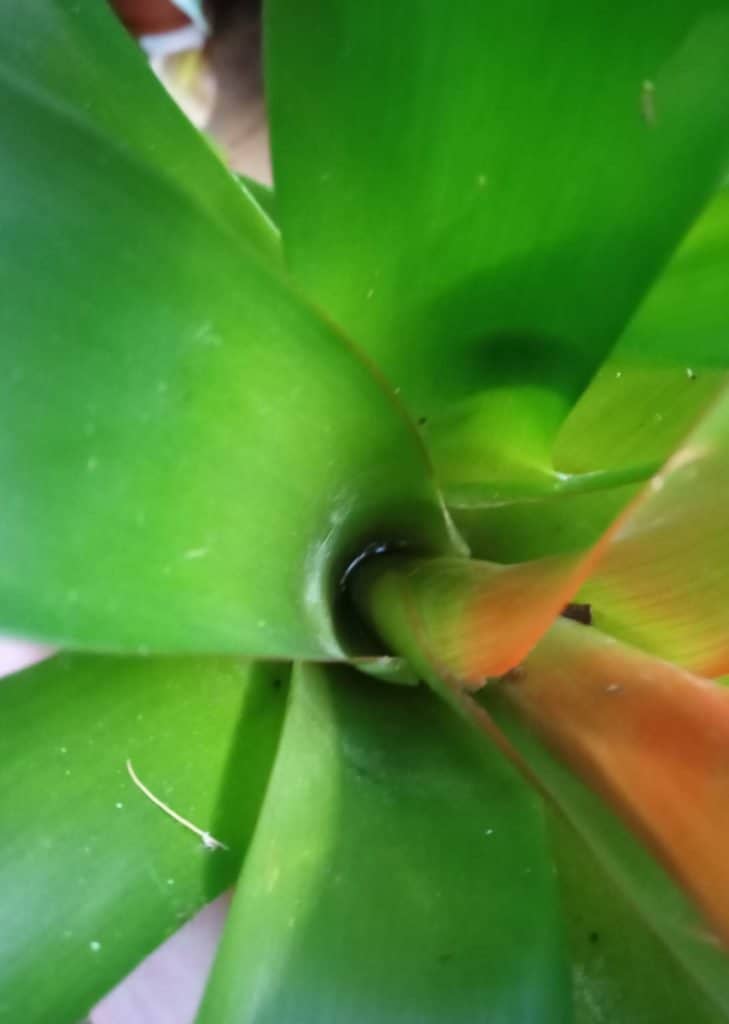
Therefore to water your bromeliad keep their tank topped up with water. I usual find I have to top up the tank every week in the Spring and Summer during active growth and much less during Winter.
Despite the fact the bromeliad attains its water requirements by a central tank (rather then drawing up moisture) It is also important to water the bromeliads soil as the roots cannot grow and establish in rock hard soil and dry hard soil can prevent the development of off setts or ‘pups’ which are small plants the develop from the big parent plant.
Allow the top inch of the soil to dry between each bout of watering. Typically I find that this means watering once every 7 days in Spring and Summer and once every 10 days in Winter.
Water your Indoor Bromeliad with Rainwater
Bromeliads are particularly sensitive to ‘hard’ tap water and the chlorine and fluoride found in tap water which can turn the leaves brown and cause them to die back.
Therefore it is important to water your bromeliad with rainwater, bottled water or distilled water.
Mist the Bromeliads Leaves Every Few Days to Increase the Humidity
Mist the bromeliads leaves regularly to create a humid micro climate around the plant which replicates the humid conditions of the bromeliad’s native environment.
Misting the leaves helps to keep the plant hydrated. However I find that if you are growing bromeliads in a dry climate or the air indoors is dry (due to heating or air conditioning) then more humidity is needed.
Place the bromeliad on a tray of wet pebbles making sure that the bromeliad’s pot and specifically the drainage holes are propped up out of the water to allow for good drainage.
The consistent evaporation of the water from the tray helps to keep the bromeliad healthy.
You can also buy a plant humidifier (available online or in garden centers) that release humid air in the vicinity of your plant, creating the ideal conditions for your bromeliad indoors. These are particularly effective for counteracting dry air from air conditioning.
Where to Place a Bromeliad?
Bromeliads specifically anchor themselves in an area of bright light up in the forest canopy on a tree branch, so that it does not have to compete with terrestrial plants for light.
Therefore it is important to find a nice bright area in your house to encourage the bromeliad to flower and thrive.
Bromeliads do not grow well in deep shade, however their sensitive leaves also scorch in direct sunlight, so avoid placing them on a window sill in direct light.
I personally recommend growing bromeliads in a bright bathroom as the bromeliad appreciates the naturally higher humidity levels of a bathroom and the frosted glass also can protect it from any harsh direct light.
Avoid any draughty areas such as near the front door of your house (that is opened and closed frequently) as the temperature and humidity fluctuation from outside air can harm the bromeliad.
Temperature Range for Bromeliads
The optimal temperature range for bromeliads is 70ºF to 90ºF (21ºC to 32º) and between of 50ºF to 65ºF (10ºC to 18ºC) during the night.
The bromeliad prefers a 10ºF decrease in temperature at night compared to the day time temperature. This is because it recreates the natural change in temperature from day to night in its native environment.
So bromeliads prefer the warmer side of room temperature for optimal growth and do not grow well in the cold. If your bromeliad leaves are turning brown, this is an indication that the temperature is too cold for it to tolerate.
Warmer temperatures are also thought to contribute towards flowering.
I recommend moving your bromeliads from window sills, particularly in Winter as they often have a much cooler micro climate then the rest of the room. It is also important to ensure that the leaves of the bromeliad are not in contact with the glass of the window, on cool nights.
Repotting Bromeliads
If the bromeliad is in flower then I do not recommend repotting as the stress can cause the flower to die back. However if the bromeliad is not in flower and has simply out grown its pot then repot the bromeliad to a pot that is proportionate to the size of the bromeliad and only 2 inches larger in diameter the the previous pot.
If the bromeliad’s pot is too large then the soil dries out too slowly for the bromeliad’s roots to tolerate, causing them to rot, hence the importance of using a proportionately sized pot.
Best Potting Soil for Bromeliads
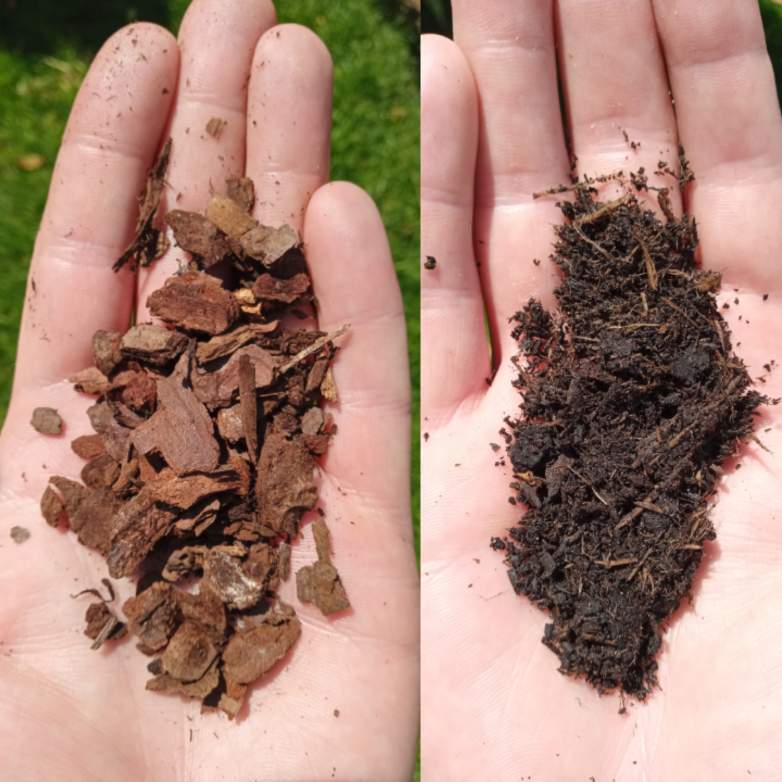
The best soil for growing bromeliads is a mix of around 50% potting soil and 50% orchid potting mix.
I personally prefer to use soil and orchid pine bark based potting mix as the orchids are also epiptytes (grow on trees) in the same environments. The pine bark recreates the bromeliad’s natural conditions of growing on tree branches.
The large particle size of the pine bark or perlite creates the optimal porous soil structure to prevent the bromeliads delicate roots from rotting.
If you plant bromeliads in normal potting soil without amending it, then the soil is too dense and the bromeliads roots do not have enough oxygen and the plant dies back.
Best Pots for Bromeliads
The best pots for bromeliads are unglazed clay or terracotta pots as they are breathable which allows the soil to dry out more evenly after watering. Plastic or ceramic pots are impermeable which can retain too much moisture for the bromeliad’s roots to tolerates.
It is important that the pot has drainage holes in the base to allow excess water to escape efficiently.
What to do when the Bromeliad Flower Dies?
Bromeliads are relatively short lived plants, only living for 2- 5 years, however the flowers can last for months and even up to year in the right conditions.
Once the bromeliad has flowered, it has completed its life cycle at which point the flower and even the parent plant dies back.
However the good news is that the parent plant dying back triggers the development of off-setts or ‘pups’ from the main base of the plant which grow and eventually mature to produce another flower.
Because the bromeliad produces off-setts regularly, you can have a consistent supply of bromeliads flowering for years.
These off-setts can be very easily propagated…
How to Propagate Bromeliads
Wait until the bromeliad’s flower turns brown and dies back, at which you can cut the browning flower back to the base with a sharp pair of pruners. Keep the bromeliad in a warm, humid room (such as a bathroom) and keep the soil moist but not boggy.
This provides the optimal conditions for off-setts to grow.
Wait until the off-sett is around 1/3 of the size of the original mature bromeliad to ensure it is resilient enough to cope with stress before attempting to separate it and it repot it.
Repot the off set into a ideally a terracotta pot (as this is porous, which allows the soil to dry evenly) and use a potting mix of 50% potting soil and 50% pine bark based potting mix. Keep the potting medium moist and increase the humidity with regular misting.
How to Fertilize Bromeliads
Bromeliads should only be fertilized in the Spring and Summer. Do not use any fertilizer in the Winter when the plant is dormant.
Bromeliads absorb nutrients from the humid air around them rather then drawing it up from the ground. As there concentration of nutrients is lower in the air, it means bromeliads do not like fertilizer in high concentration.
I personally use an orchid mist spray to fertilize my bromeliads.
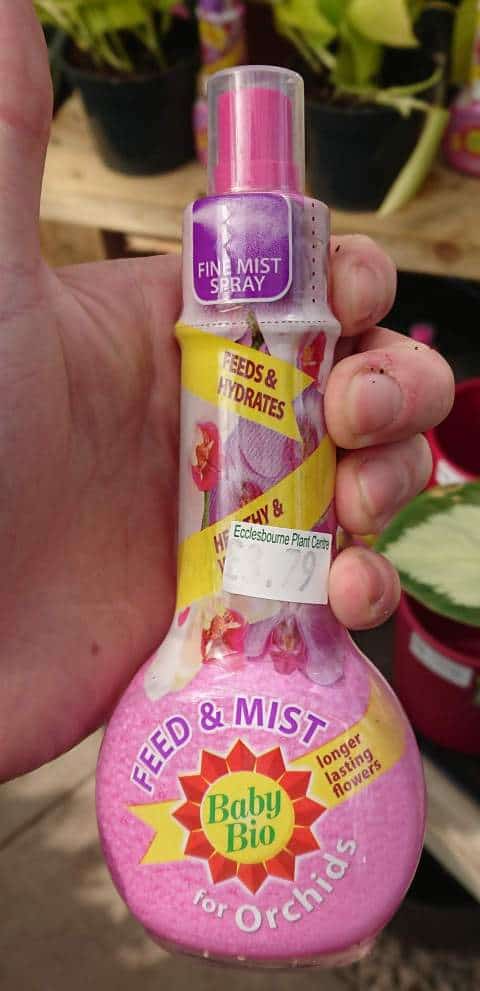
Orchids are not closely related to bromeliads but they grow in the same environments and absorb nutrients through they air in the same way, hence why a spray is the best way to apply fertilizer as this replicates the way bromeliads absorb nutrients in their native environment.
Spray the leaves once a month during the growing season using a specialized orchid spray.