Orchid Care: How to Grow Phalaenopsis (Moth) Orchids Indoors
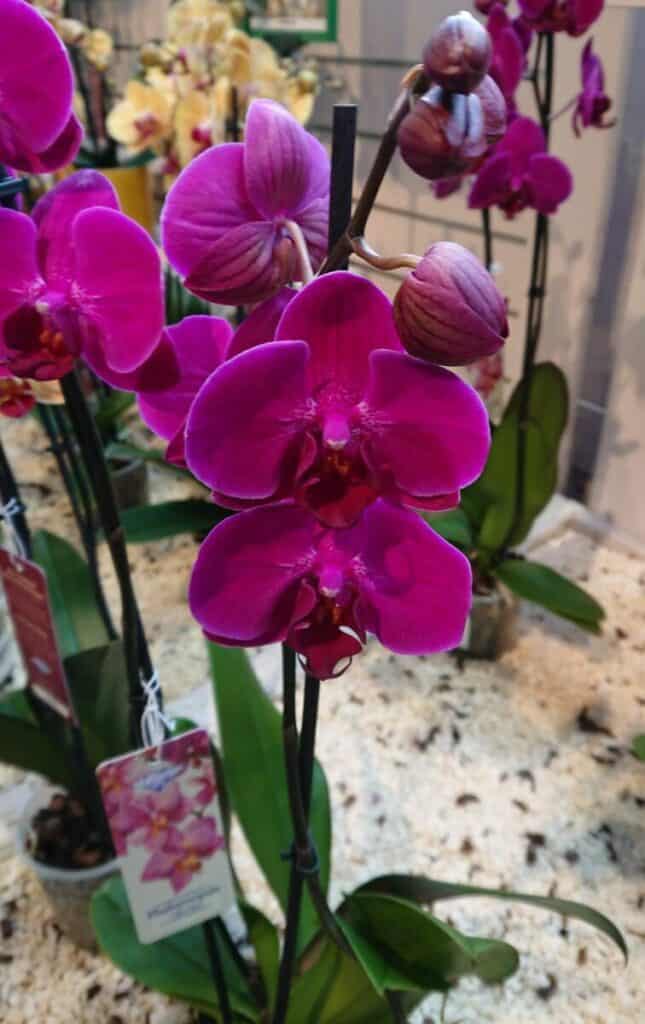
Phalaenopsis (Moth) are the most popular orchid to grow indoors and has blooms that can last for months. Growing phalaenopsis orchids is easy for beginners as long as you mist the leaves to create humidity, locate them in bright indirect light and plant them in a well draining aerated, pine bark potting mix.
Here is a table summarizing the main requirements of growing phalaenopsis orchids for beginners:
| How to Care for Phalaenopsis Orchids Indoors: | Indoor Orchid Requirements: |
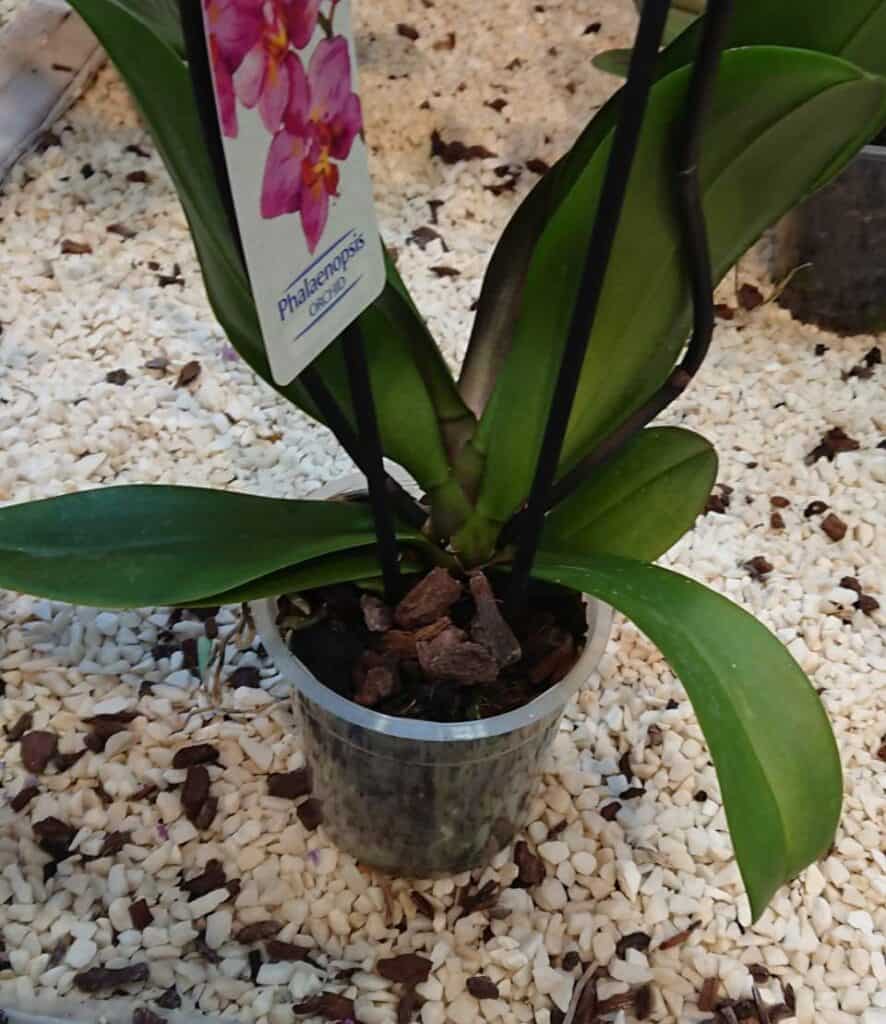
| Best Pots for Orchids: | Clear plastic pots as the roots need light. |
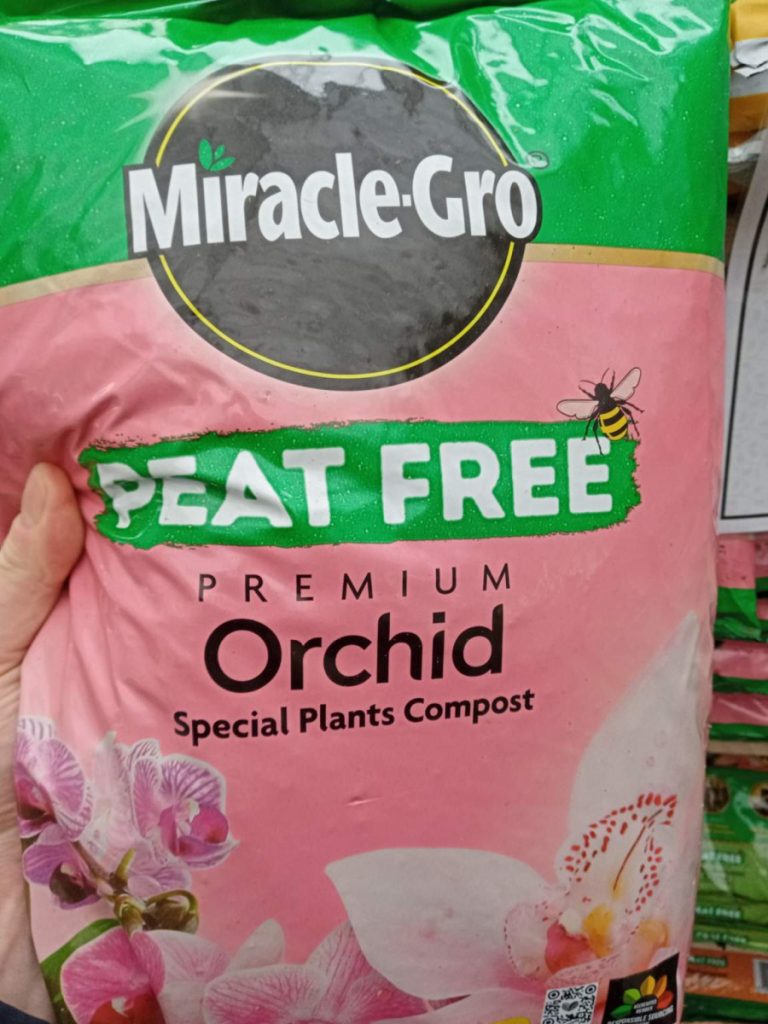
| Best Soil for Orchids: | Pine bark based orchid potting mix is better then moss. |
| Optimal Temperature Range: | 65°F to 80°F (16°C to 26°C) is the ideal temperature range. Temperature fluctuations cause the flowers or flower buds to drop. |
| Light and Location: | Bright, indirect light. Avoid any draughts or strong air currents from air conditioning. |
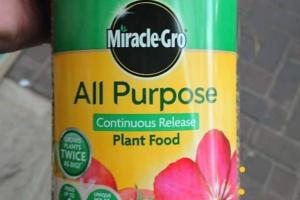
| Fertilizer: | Use a specialized orchid spray fertilizer, not a multi purpose houseplant fertilizer. |
| How Often to Water: | Water around once a week and once every 10-14 days in Winter. Orchids should be watered when their roots turn light gray. |
| Humidity: | Phalaenopsis orchids prefer high humidity. Mist the leaves, roots and flowers regularly or use a plant humidifier. |
| How Often to Repot Orchids: | Repot every 2 years as the potting mix decomposes which can cause the roots to die back. |
| How To Get Orchids to Rebloom: | Trim back flower spike to just above a node. Maintain a cooler temperature of between 55°F (12°C) to 60°F (16°C) for 4 weeks and maintain high humidity. |
Keep reading to learn all the best practices and for a step by step guide for how to get your orchid to re-bloom…
Best Pots for Phalaenopsis Orchids Indoors
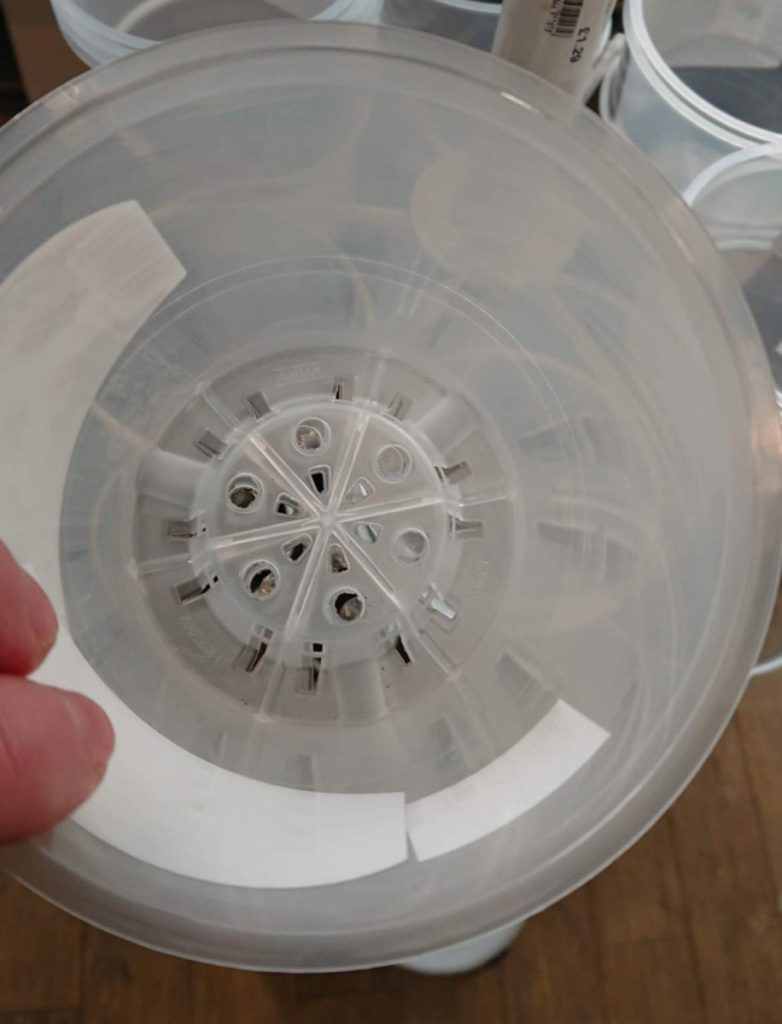
In my experience of growing orchids indoors, the best pots are clear plastic pots (with holes in the side) and then I place the clear plastic pot inside a heavier, more decorative ceramic, clay or terracotta pot.
The reason for this is that the orchids roots are fairly unique in that they are green (or light gray) and can photosynthesize as well as draw up water and nutrients, so clear plastic pots ensure that the roots have enough light for photosynthesis to contribute energy to the orchid.
Phalaenopsis (Moth) orchids are epiptytes which means they naturally grow on trees in their native environment with their areal roots exposed to light and air.
Photosynthesis is usually, exclusively the function of the leaves and whilst the leaves are the orchids primary means of photosynthesis, the clear pots allow the orchids roots to provide additional energy for the plant.
Added air holes or slits in the side of the orchids pot allows air to circulate around the roots, similar to its natural environment which facilitates root respiration and helps to mitigate the risk of root rot.
Plastic pots also help you to determine whether the orchid needs watering or not as the orchids roots should appear green after watering and be allowed to dry slightly so that they turn silvery or light gray before giving the orchid a thorough watering.
The problem with plastic pots is that they are very light and with the orchids top heavy structure the orchid can topple over.
This is why I recommend placing the pot inside a heaver decorative outer pot which looks aesthetically more pleasing then a plastic pot and counter balances the top heavy orchid to prevent it from falling over.
Orchid roots are a key indicator of health, so if the orchid begins to look unwell then you can simply take it out of the outer pot and inspect its roots for signs of rot through the clear plastic pot. Clear pots are also good because you can see whether the potting mix has decomposed to the point it needs replacing (orchids need repotting every 2 to 3 years).
Ensure that the pot is at least 6 inches across to accomodate the orchids root system. It is also worth noting that the wider the pot the more stability the top heavy orchid has.
Best Soil for Orchids (Best Potting Mix)

The best potting soil for phalaenopsis orchids is a pine bark based, specialized potting mix. The pine bark chips are large in size which creates the optimal aerated well draining structure that orchids need to avoid root rot and stay healthy.
It is important to remember that phalaenopsis orchids are epipthyes that grow naturally on tree branches, using their roots for stability rather then growing on the ground in soil.
Ordinary potting soil is too dense and not porous enough for orchids and would stave the roots of the oxygen they need for root respiration. Ordinary potting soil also retains too much moisture around the roots for orchids to tolerate.
Pine bark chips are also quite large which creates the space for the roots to grow and establish through the mixture, whereas other potting soils are simply to dense for the orchids roots to grow.
I personally recommend using miracle-gro peat free orchid compost which is composed almost exclusively with pine bark chippings.
It is worth remembering that moth orchids grow on the bark of trees in branch up in the canopy of their native humid tropical environment so pine bark based potting soil is the potting medium that most closely emulates their natural growing conditions.
Pine bark based potting mixes are better the peat moss for growing phalaenopsis orchids. A lot of commercial growers use peat moss as it is cheaper then pine bark, however, it decays more quickly, meaning that you would have to repot more often and typically it holds moisture for longer which can increase the risk of root rot.
Best Temperature Range For Orchids Indoors
The best temperature range for orchids is between 55°F (12°C) and 75°F (23°C) so around room temperature is best for phalaenopsis orchids. If the temperature is significantly higher or lower then this range, then the flowers or flower buds are likely to drop off.
Phalaenopsis orchids prefer a cycle of warmer days and cooler nights within this temperature range as it replicates the typical temperature cycle in their native environment, so be mindful of this as indoor heating or air conditioning reverse this natural cycle.
Phalaenopsis orchids grow in conditions with very consistent temperatures so any fluctuation in temperature from open doors or cold draughts can prevent the orchids from displaying blooms.
Phalaenopsis orchids need a period of cooler temperatures around 55°F (12°C) to 60°F (16°C) for 4 weeks to stimulate flowering. (Scroll down to the section of reblooming orchids for more information).
I should emphasize the importance of ensuring that the orchid’s leaves should not be in contact with glass as the glass can be much colder at night then the ambient temperature of the room. if the leaves are in contact with the window they can turn yellow or brown depending on how cold it is.
Best Light and Place to Position your Moth Orchid
Moth orchids need to be in bright, indirect light when grown indoors. The orchid needs the bright light for photosynthesis and to stimulate flowering.
Phalaenopsis orchids naturally grow in the canopy in bright light, but with protection from intense direct sunlight.
If the orchid does not have bright enough light then it is unlikely to flower. However if the orchid is in a sunny South facing window then the sunlight scorches the leaves yellow or brown (depending on the intensity of the sun).
If the orchid’s leaves scorch then they do not turn green again and recover their appearance, hence the importance of finding the right balance of bright indirect light.
Locate the orchid out of the direct path of air conditioning, open door or near any sources of heat. Orchids do appreciate the occasional gentle breeze from an open window as air circulation is good for the leaves and roots.
Orchids are native to humid climate so humidity is also greatly appreciated which is why orchids are often grown in more humid rooms of the house such as bathrooms.
However, as long at the orchid is kept out of any strong air currents then you can create humidity by misting the leaves or using a humidifier.
How to Fertilize Orchids (For More Orchid Blooms)

Orchid roots are particularly sensitive and do not tolerate regular houseplant fertilizer as this could burn the roots, however orchids are heavy feeders and need additional fertilizer to promote vegetative growth and of course for flowering.
Therefore the best fertilizer for phalaenopsis is a specialized spray product. Phalaenopsis orchids grow on trees in their natural environment and their roots absorb nutrients in the humid air or from organic matter in the surrounding area.
A specialized orchid fertilizer contains the right nutrients that the orchid needs at the right concentration to support growth and promote flowering. With a spray product you can spray the orchids aerial roots effectively replicating the way orchids absorb nutrients naturally.
With the product I use, I spray the roots with fertilizer every 2 weeks during active growth in the Spring and Summer and then once a month during its Winter ‘rest’.
Little and often is the best approach to fertilizing phalaenopsis orchids as this mimics the typical way the aerial roots draws in nutrients in its native environment. Do not use more fertilizer then the manufacturer recommends as this can cause your orchid stress.
Orchids are capable of flowering at anytime of year in their native environment but indoors they typically have a more dormant period in Fall and in Winter in reaction to the decreasing hours of daylight which is when you should reduce the frequency of fertilizing.
This ensures the orchid has all the resources it needs for a good display of flowers